
Tips for RV Refrigerator Troubleshooting
RV Lifestyle & Repair EditorsIt’s never fun discovering that your RV’s refrigerator is on the fritz, especially when you’re out on the road with no access to your dealer or repair service. Luckily, you can often return it back to service yourself with just a few troubleshooting tips.
How to Diagnose RV Refrigerator Problems
Tip 1: Verify the Refrigerator Works in Both Modes: Electric & LP
First, make sure the unit is level and then determine if it is working at all, or is completely non-functional.
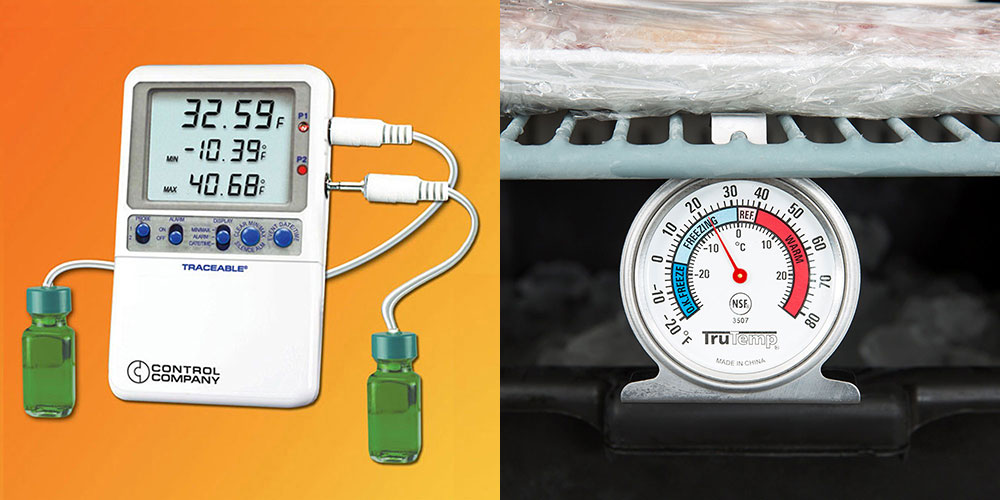
This is best done with a thermometer, although in a pinch you can usually tell by placing your bare hand against the cooling coils inside the main food compartment and freezer.
If your refrigerator is on the gas setting, you can also check the back of the refrigerator to see if the flame is present if it is on the gas setting.
If it is on the electric setting, hold your hand near the heating element area in the back of the unit (but avoid touching as it may cause a burn).
Use thermometers designed for use in refrigerators. It’s best to use one in each compartment.
Tip 2: Check on the Airflow
The cooling effect from most RV refrigerators originates in the freezer compartment and then goes into the main compartment. So, if your freezer is working, but your main compartment is not, you likely have reduced airflow.
What Can You Do?
The fan in the freezer called an evaporator fan, moves cooled air from the freezer into the food compartment through a controlled duct called a diffuser. The diffuser is located at the upper rear center of the food compartment.
1. Listen for the evaporator fan running in the freezer. Evaporator fans cycle on and off so if you don't hear it, wait a while. In some RVs, refrigerators shut the fan off when you open the door, so listen through the door.
2. Check the diffuser duct to see if it is clogged with ice.
What Do I Do if There is Still No Cooling?
If there's no cooling, sniff around the refrigerator. Most RV refrigerators are the absorption type, which uses a mixture of water, liquefied ammonia, hydrogen gas, and sodium chromate (the chemical used to line the internal tubes to protect them from the corrosive ammonia) in the cooling coils to transfer heat.
On absorption units, if you can smell the odor of ammonia, the heat transferring coils in the cooling system of the refrigerator have leaked out and will need professional repair or replacement.
At this point, contact an RV dealer to determine which option will be the most cost-effective. Also, check to see if the unit is still in warranty.
Tip 3: Try Operating the Fridge in All Operating Modes
If the unit works on LP gas but not on electric or vice versa, it means the basic cooling unit is intact.
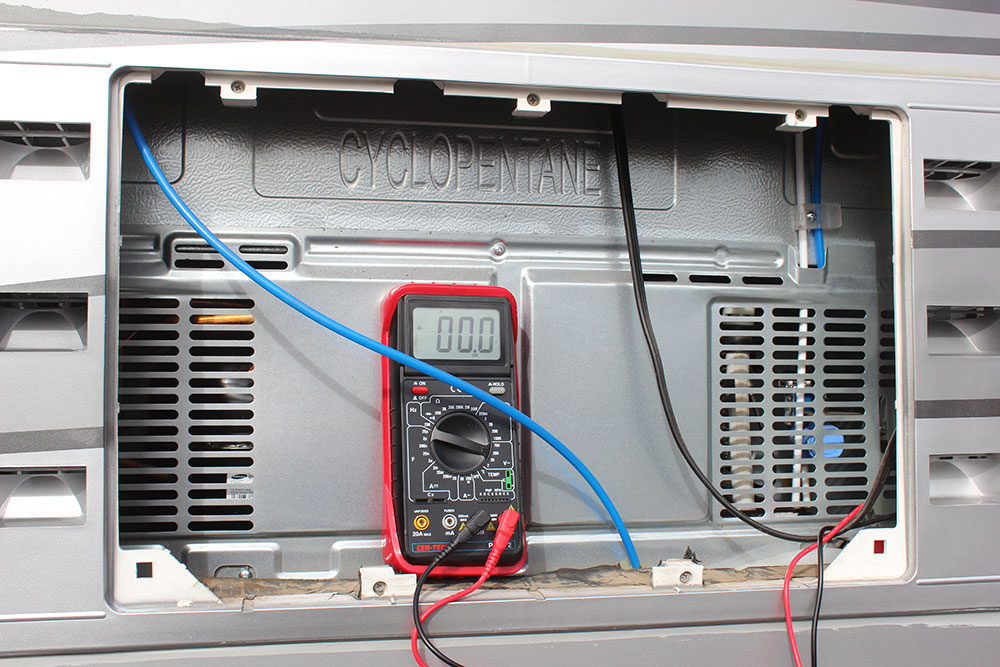
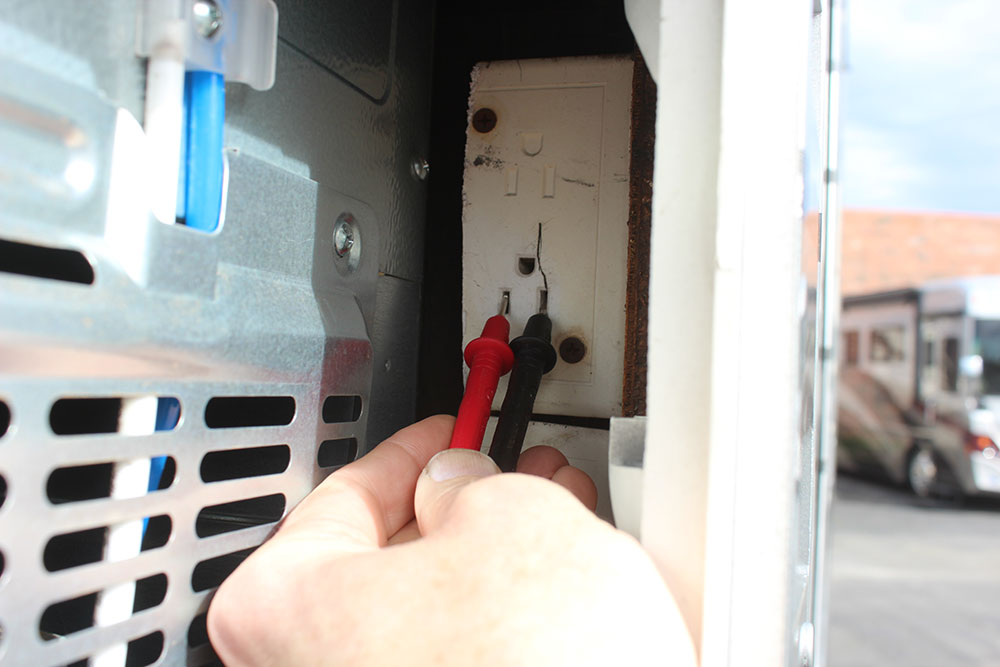
Use a multimeter to check for voltage to the refrigerator.
How Do I Get Full Operational Capability?
For full operational capability, an RV absorption-type refrigerator typically needs 120 Volts AC, 12 Volts DC, and a source of LP gas.
- - Gas is usually the default source of heat for the cooling coils
- - The 120 Volts is the alternate source, typically used when connected to “shore” power in a campground
- - The 12 Volts DC is used for the control circuitry, and in some cases to heat the coils
Note: The following steps are for units that operate on LP gas, but not on 120 Volts AC. Make sure to verify that 120 V AC is available at the back of the refrigerator.
1. First, check circuit breakers and fuses at the panel, then check the outlet at the back of the refrigerator for voltage. A multimeter is recommended, but plugging a blow dryer or other device into the outlet can tell you if the voltage is present.
2. Next, verify that 12 Volts DC is present at the back of the refrigerator. This can be done with a 12 Volt test light or a multimeter.
If both voltages are present and all indicator lamps work, check for trouble codes on refrigerators that have this feature. This can lead you to the problem area quickly and the codes and procedure to read them should be in the owner's booklet. If that is not available, you can find the information on the refrigerator manufacturer's website.
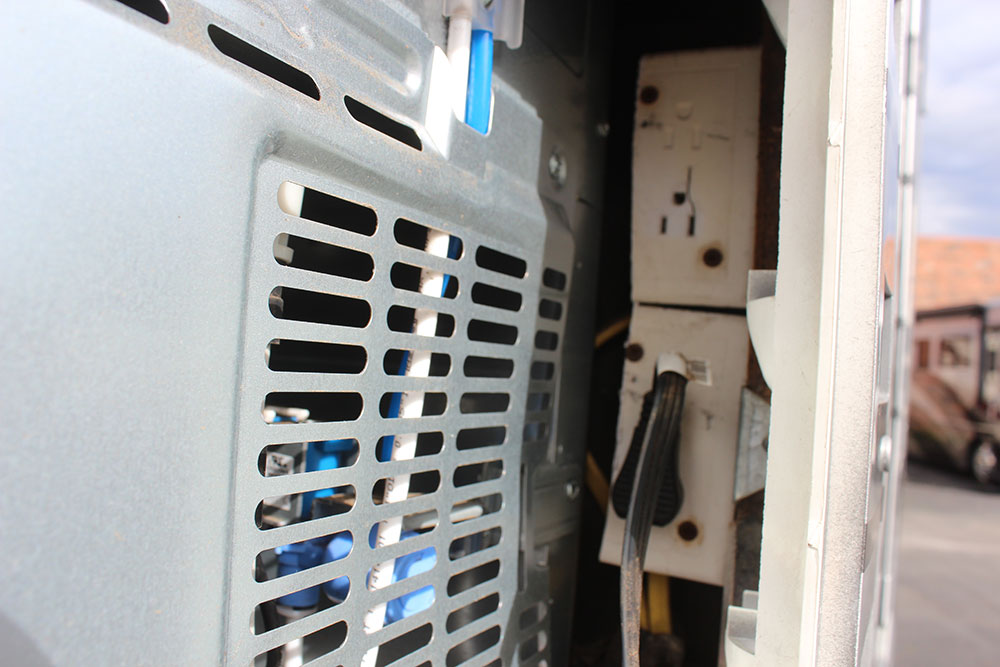 Most refrigerators plug-in like this one for 120 Volt power supply. Check circuit breakers if there is no power.
3. Next, check the 120 Volt AC electric heating element. A multimeter should be used, but make sure to be careful because the voltage is hazardous. Do this in dry conditions, wear rubber-soled shoes and rubber gloves. If you are unsure of your electrical skills, have this done by a professional.
The wires powering the heating element typically come from the metal enclosure below the cooling unit, accessed from the back of the fridge. Generally, only minor removal of shielding is needed for access and this should be done while the unit is unplugged.
Test voltage while the heating element is connected and powered up. If voltage is detected at one wire but not the other, the element may be burned out. If there is no voltage at the element, the problem may be in the wiring from the refrigerator circuit board, or the board itself. Testing this may require a qualified RV shop.
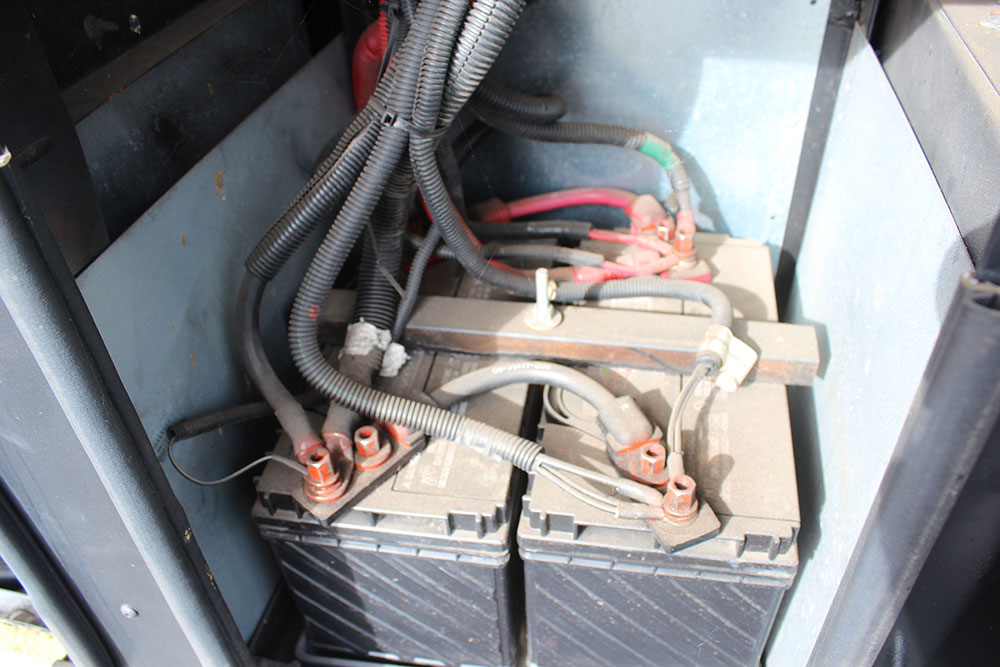
4. Lastly, if there’s no 12 Volt DC power going to your refrigerator, make sure the batteries are charged and then check fuses and switches.
Three-way refrigerators can operate on 12 Volts DC because they have an extra electric heating element. Test voltage at the heating element the same way as the 120 Volt AC units, but use a low voltage (usually 20) DC mode on the multimeter.
Note: The following steps are for units that operate on 120 Volts AC but not on LP gas. Try to determine if there is a good flame.
1. First check that the LP gas tank has sufficient gas in it, that the valve is on, and any safety devices such as LP alarms have not disconnected the supply.
2. Then switch the controls on for gas burner use. If it lights but goes out quickly, the thermocouple (which detects the heat from the flame and controls the gas valve) may be faulty.
Fix: The thermocouple is attached to the main gas valve in the back of the refrigerator. It has a tube extending toward the gas burner. Usually, they can be replaced by owners with some DIY skills.
Pro Tip: These go bad quite often, so it’s a good idea to carry one with you on trips.
What if the Flame Doesn't Light At All?
If the flame doesn't light, vacuum the burner area to the burner port (or jet). Sometimes rust and other debris drop from the vent and blocks the burner unit.
To do this, remove the metal shielding and use a shop vacuum to clean the area near the burner thoroughly. If necessary, push a thin wire into the burner orifice to unclog it. If the flame remains lit, look for flame quality; it requires a well-shaped flame that's mostly blue.
Tip 4: Use the Old Timer's Trick
Sometimes, the cooling unit still is charged with the required ammonia mixture, but still doesn't work.
If it appears that the cooling unit needs to be replaced, consider using an old-timer's trick, and remove the entire refrigerator and place it upside down for a week or so. This sometimes unclogs them and gets them working again, and all it takes is a little labor and time. What do you have to lose?
Conclusion
Rebuilt circuit boards and cooling units are available for many popular RV refrigerators. If they come with a warranty from a reputable supplier, they can get you back on the road with considerable savings.
Many times it’s something minor that causes your refrigerator to malfunction. By checking these items above, it may be possible to avoid a costly refrigerator repair bill. In other cases, you can at least give the technician a description of what the problem is and be able to make an informed decision about repairs.
Have something to add? Leave a comment below or share with us on Facebook.
When troubleshooting the refrigerator on the LP mode. the first thing we wanna do is verify if it works on either one of the modes, electric or LP. So this one we did test, it does work on the 120 volt or the electric side of it. Next we want to verify, we have LP in the system and it's getting to here. So we're gonna check the tanks.
These have two tanks up in the front on this fifth wheel toy hauler here, which is pretty common. Now, neither one of those has a gauge on it. There is a gauge inside, but we're not always positive that that's going to be accurate. There is a nice little tester by Truma. It's called a level check that just use ultrasound.
And it will actually tell me the level of these. So we're gonna verify that we have LP in the, in the system. So we verified that we did have LP in one of the tanks and that's fairly common with a two tank system that they'll go off of one tank to start with until it gets down to empty and then it'll switch over to the second tank. We verified that the valves were open. Something also that is common in in units like this with the two tank system is there's an excess flow valve inside.
And what it's designed for is if this system ever gets a rupture in the tank anywhere or the lines, and we have a flow of LP coming out it will actually shut down that entire line. It's a safety feature. But a lot of times what we find is that if you've had the tanks off and you come in and you crank both of 'em up and they're real close to, to something and you tried to start this right away it's gonna back feed that system and it's going to shut it down. And it may take sometimes two to three minutes for that pressure to back off again. So if, if you're not running on LP initially give it a little bit of time, first of all, just to make sure.
The next thing then, you can go inside and check to make sure you have LP coming into the system. Quick check, go in, turn on your burner range on, on the stove, on the top of it just to verify that you have it. The next thing, then we come out here and we're gonna take a look. And even though I'm running on LP, I have to have at least 10.5 volts coming to this module panel right here. And this one happens to be, AC lines are coming in right here.
So I just want to verify, first of all, I'm gonna take my multi-meter put it on the 20 volt side or the 20 and then I'm going to come in here and press. And I see we're running right at about 14.3 volts. So we have plenty of, of power coming here. Now, if it was below 10.5 our automatic valve would not open up here. So naturally it would not light on the LP side of it.
The next thing is to make sure that you verify right here, we have an LP line. So I'm gonna unplug this. This one actually does work. It's gonna take a couple seconds, clicks. It fires up.
We see that we do have a flame. Now, if I were to take this and shut this valve off, we're gonna get a close up here and open this up. We're just gonna bring it down a little bit at a time. You can see how it starts to run less effective so, right now you can hear it clicking. It's trying to restart it.
It doesn't have any LP coming through this line here. So make sure this line is open. Now it's lit. The next thing I'm gonna look for is let's say it lights but it's not running real efficient on the LP system. So I want to look inside here and I want to take that burner assembly and make sure that the flame is, is a nice blue flame.
That I've got a dark or a solid flame on the bottom of it, it's not jumping around. I don't have a lot of orange around the outside of it. If that's the case, if I've got it doing that then I've got a burner assembly that's probably plugged it's, there's a spider that actually likes the smell of propane. And they'll go in there and weave a little web inside there and it'll restrict the flow coming in. So I won't have enough flame to boil this liquid in here and actually do the absorption.
So also looking at this flame, if we see that it's not trying to draw up through the top just to help this run more efficiently. We need to make sure this entire back cabinet here is open. That we're getting exhaust up through the top of it. We may have a bunch of leaves in the flu. On the very top we've got a vent cover and once a year we should take that off and make sure it's clean.
So while we're back here it's a good idea just to take an air compressor blow up on these coils, make sure there's no dust on those. 'Cause that's gonna make that actually hotter in there and we're gonna be fighting the heat of that as well. And if we don't get it to vent out of the top then you know, then we're, we're not gonna have it run more as efficient as it should. So, verify that you've got power coming in. That you got AC power that you've got the lines open and everything's free and your refrigerator should run a lot more efficient.


I have a Norcold N641R RV refrigerator. When I try to turn it on I get a message (no co) and it will not come on on gas or electric. Can you please help. I live out in the middle of nowhere where I can get to a dealer.