Enjoying your onboard water demand system starts with filling the RV fresh water tank. Most systems will have a gravity feed, while newer models have a switch over valve for filling the tank from a city water fill station. Regardless of how your system works, you will want to make sure to fill your RV fresh water tank properly to avoid damages to the tank and the water system as a whole.
When using the gravity feed, you’ll want to fill your RV fresh water tank slowly allowing enough air to escape through the small vent tubes. Filling the tank at full speed could cause bulging at the top or blowing out of fittings and connectors. Some RV owners prefer to cut off the end of the hose, removing the metal connector and ensuring the hose fits properly into the gravity fill inlet.
The location of your RV fresh water tank will depend greatly upon your floor plan. It could be situated under the bed, the dinette or in various other locations. Some tanks are designed in odd shapes to fit the floor plan, however, most are square or rectangle.
Once your RV fresh water tank has been filled, the water is supplied from the tank to the faucets, shower, and water heater by an on-board demand pump. Simply turn the pump switch on inside the RV and the pump senses the pressure requirements and turns on-and-off automatically.
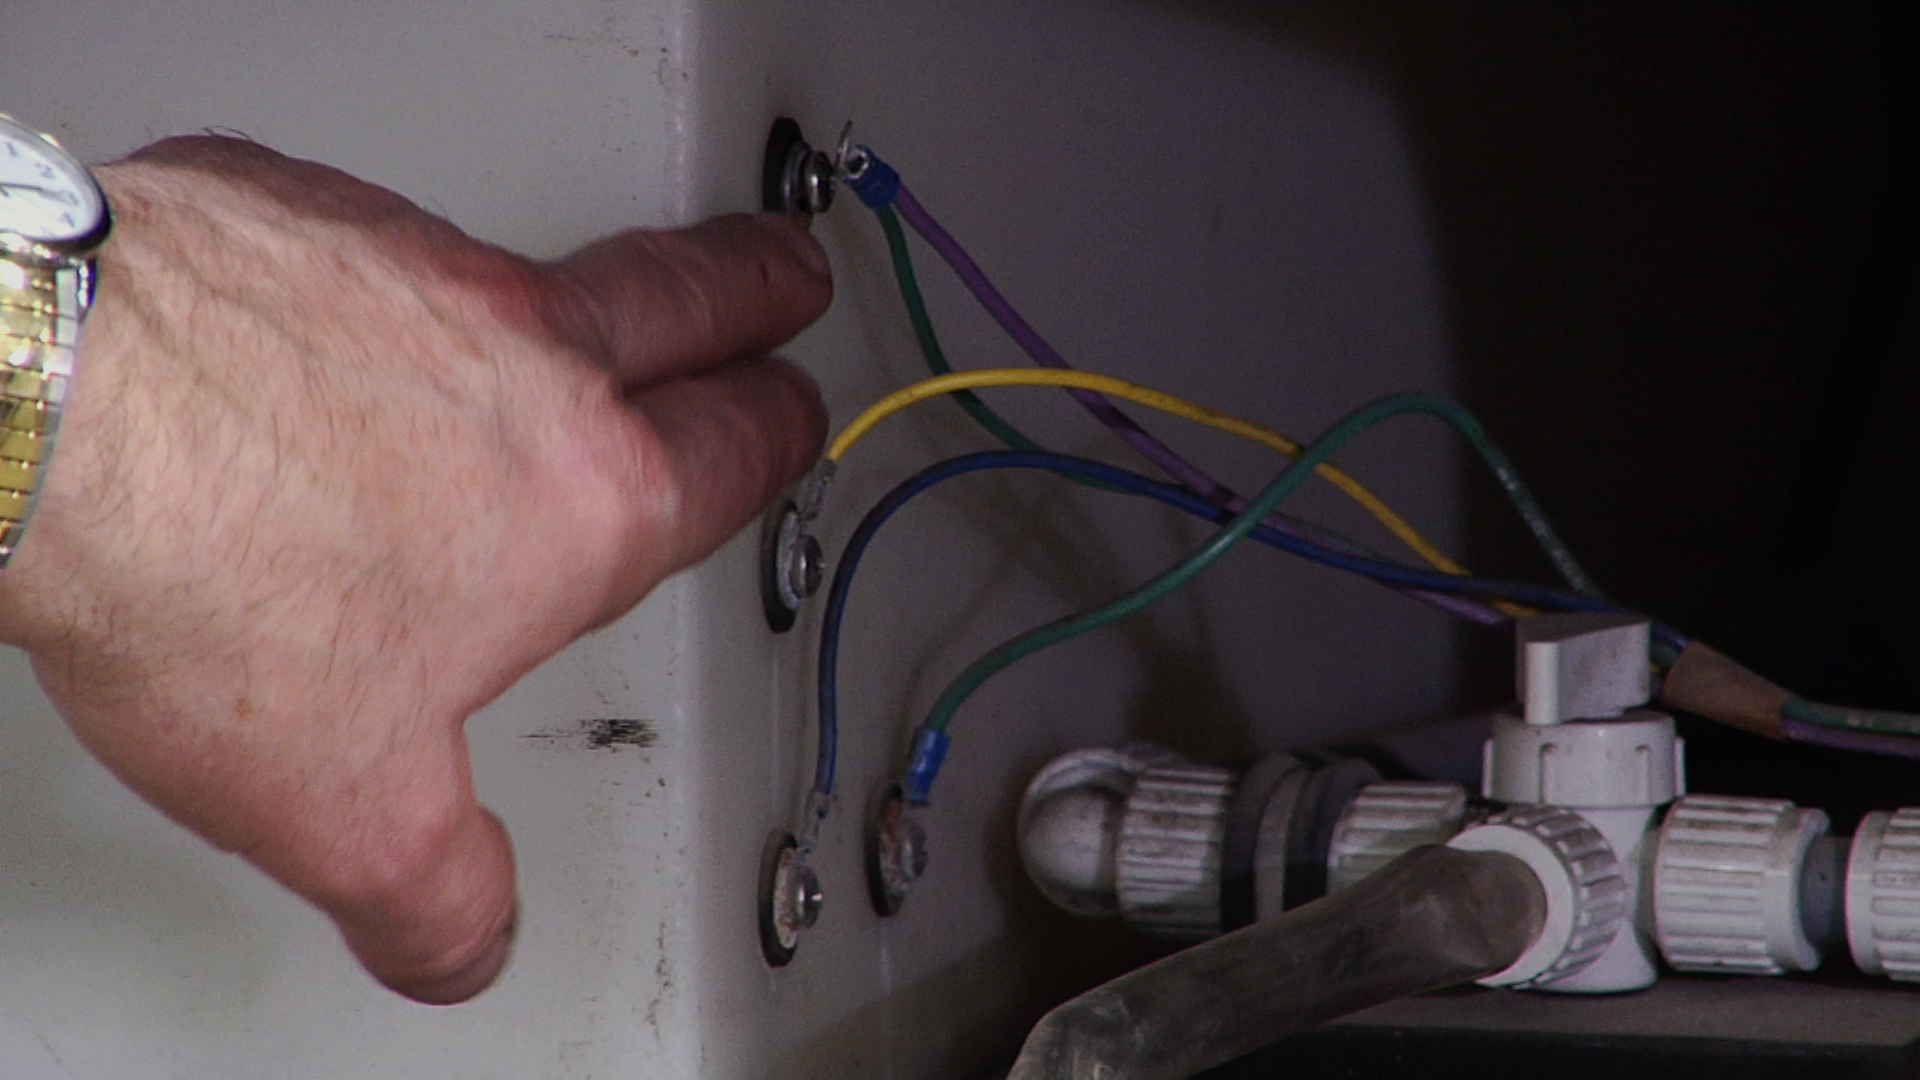
A buildup of calcium and lime could cause the tank’s level sensors to give faulty readings. If this is the case, you may have to replace the sensors or install adhesive exterior sensors on the outside of the tank.
If done right, adding water to your RV fresh water tank and maintaining the onboard water demand system should be a breeze. Enjoy the amenities of home out on the road.

