Do-It-Yourself RV Generator Maintenance
$6.98
Purchase video and add to your personal library with on-demand video access.
- Enjoy on-demand video access to this content anytime, anywhere for the one-time cost below.
- You won’t lose access, with or without an active current Membership
Description
Description
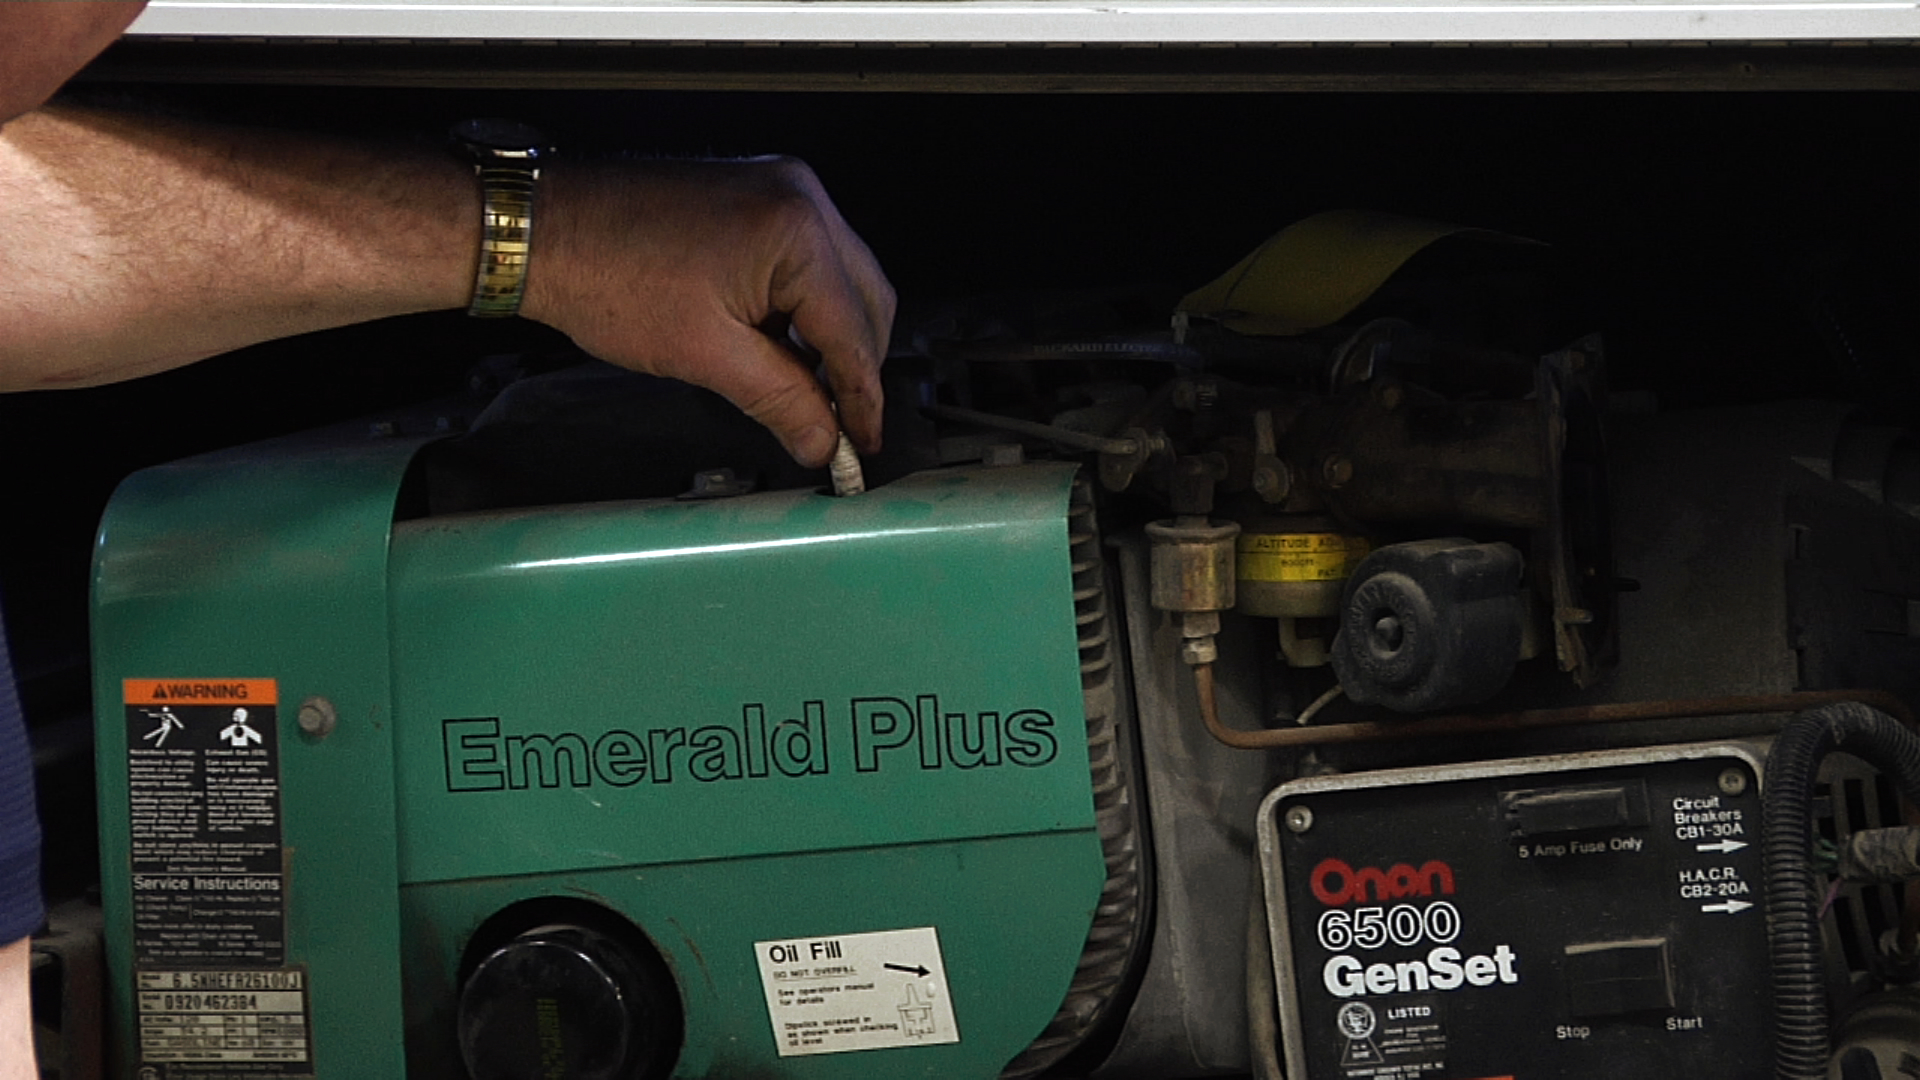
The first thing to do during RV generator maintenance is to disconnect the unit from the power source. Then remove the positive lead to eliminate any chance the generator will start up during maintenance. Place electrical tape over any exposed wire ends to prevent shocking and other electrical issues.
Though every unit is different when it comes to maintenance schedules, most do follow close timelines. The oil in the generator should be changed every 150 hours or at least once a year. During RV generator maintenance you will want to take the dip stick out and place an oil pan underneath the drain. It can take a while for the oil to fully drain out, so if desired, you can focus on working on other areas of the generator while you wait.
Once the oil has been drained, the next step in RV generator maintenance is to remove the oil filter and replace it using one recommended by the manufacturer. Close the drain and add the recommended viscosity and amount of oil back into the unit. If the unit requires four quarts, start by putting only three in. Then run the generator and check oil level. After the oil runs through the system, put the final quart in and check the level again.
Other RV generator maintenance steps should include:
- Replacing the air filter every 300 hours or once a year
- Inspect the spark plug every 500 hours or at least every year
- Replace the fuel filter and screen in secondary filter every 500 hours or at least once a year
- If there is easy access to the generator, it is best to conduct RV generator maintenance at least once a year. This will help extend the life of your generator.