With Mother Nature “teasing” us with on-again, off again spring-like weather, we start getting the itch to get our rigs ready for the summer camping season. Hopefully last fall you took the proper steps to drain the water system or add RV antifreeze, take out the house batteries, and batten down the hatches. Now it’s time to wake that sleeping giant from its long winter’s nap and get ready to hit the road!
Related Video: How to Winterize an RV
Depending on how you stored your rig last fall, there are different “first steps” that you will take. If you removed the batteries and have them in your garage, make sure you get them ready by doing a multi-stage charge prior to installing them back in the rig. Check out the videos in the electrical section on the site for this procedure.
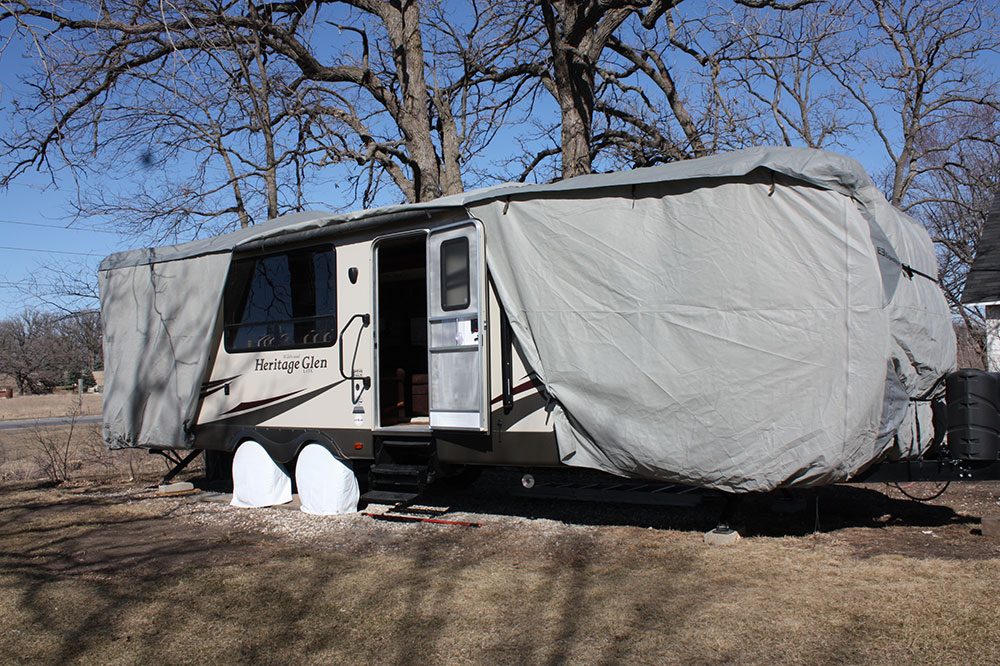
Next, if you have a cover, remove it and check all tires for proper inflation. It’s not uncommon for an RV tire to lose 2psi per week just sitting. Also check the sidewall for weather checking and the tread. This is also a good time to have the bearings checked and repacked on trailers.
Related Blog: RV Tire Care Tips: Don’t Take Your Tires for Granted
It’s also a good idea to thoroughly inspect the rig inside and out for leaks, gaps in sealant, and rodents. If you stored the vehicle inside, you probably will not see any moisture leaks; however you still want to check all the sealant and rubber trim such as slideroom seals. Check inside upper cabinetry for roof to sidewall leaks, the front and back caps, and especially the floor around the slideroom openings. If you see soft floors or moisture damage, get it taken care of immediately.
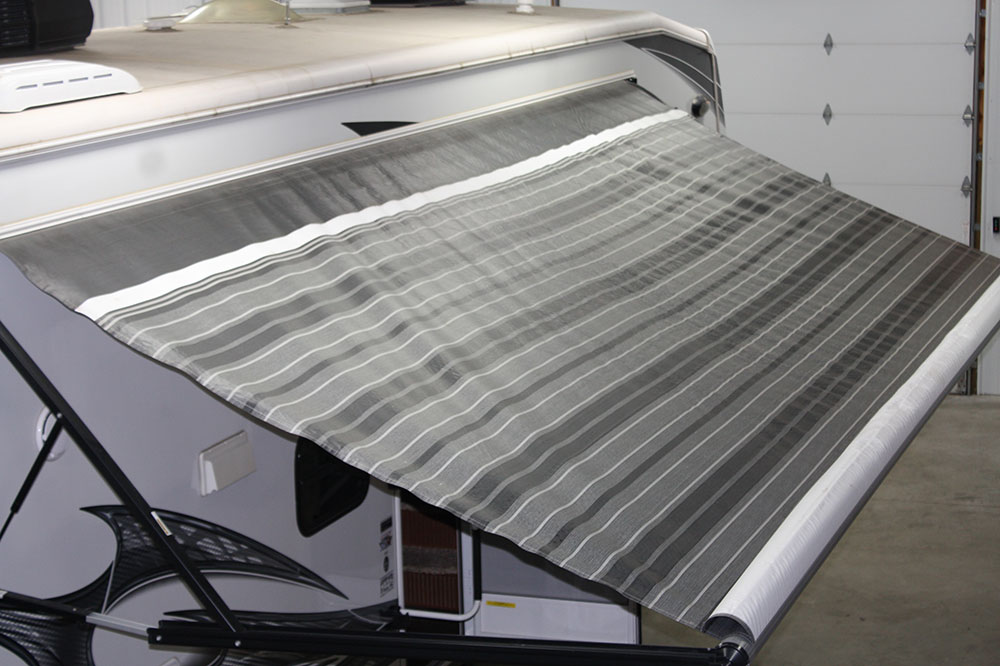
If your slideroom has an awning cover, run the room out and check for condensation or even mold as it was stored. If it was closed wet, it could have black mold that needs to be cleaned. Same thing for any patio awnings as well – open the awning and dry or clean as needed.
Next, check all your appliances for loose connections and musty odors, and make sure they are clean and ready to start up in whatever mode they operate. Make sure any gas valve to the appliance is open, the circuit breaker is on, and any fuses are good. Here is where I take a little more caution by applying an approved LP leak solution to my refrigerator, stove, water heater, and furnace connections. You do not want to use soapy water as this is not recommended by the appliance manufacturers. This will bubble if there is a leak in the connection and give you a quick heads up to get it fixed.
Related Video: Checking for Leaks in an RV Propane Tank
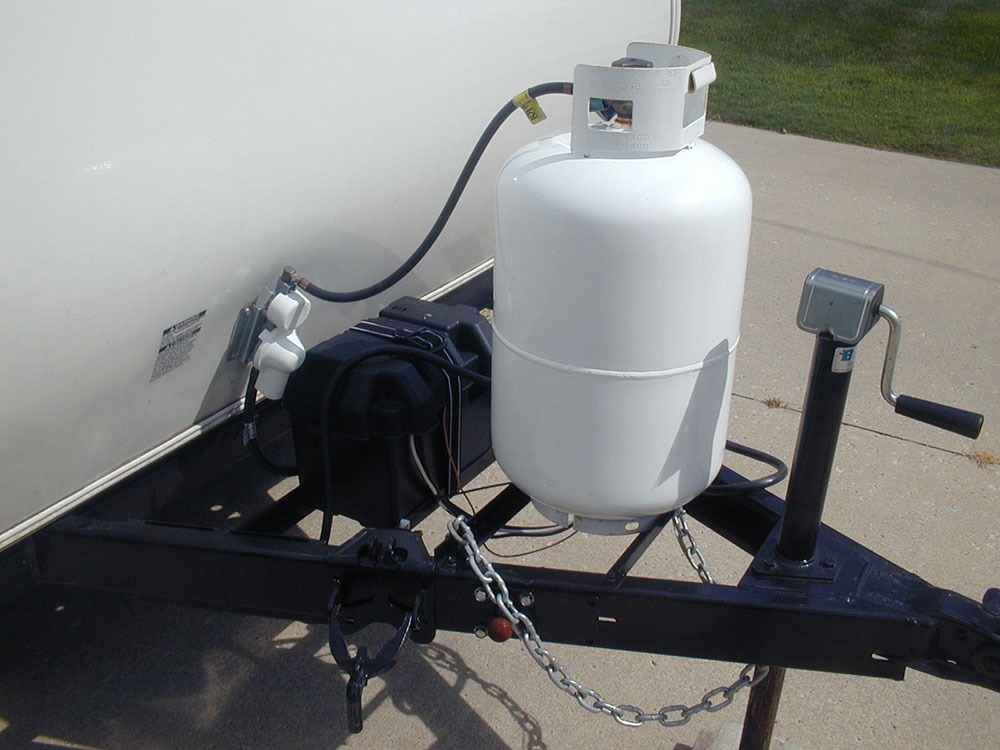
Hopefully you turned off the LP tank/s in the fall so now is the time to turn them back on…slowly! Your LP line has an excess flow valve that is designed to shut the line off if the flow through it exceeds normal operation in case of a break in the line. Opening the valve at the LP tank/cylinder can provide excess pressure and shut the valve. Now you can test the individual appliances.
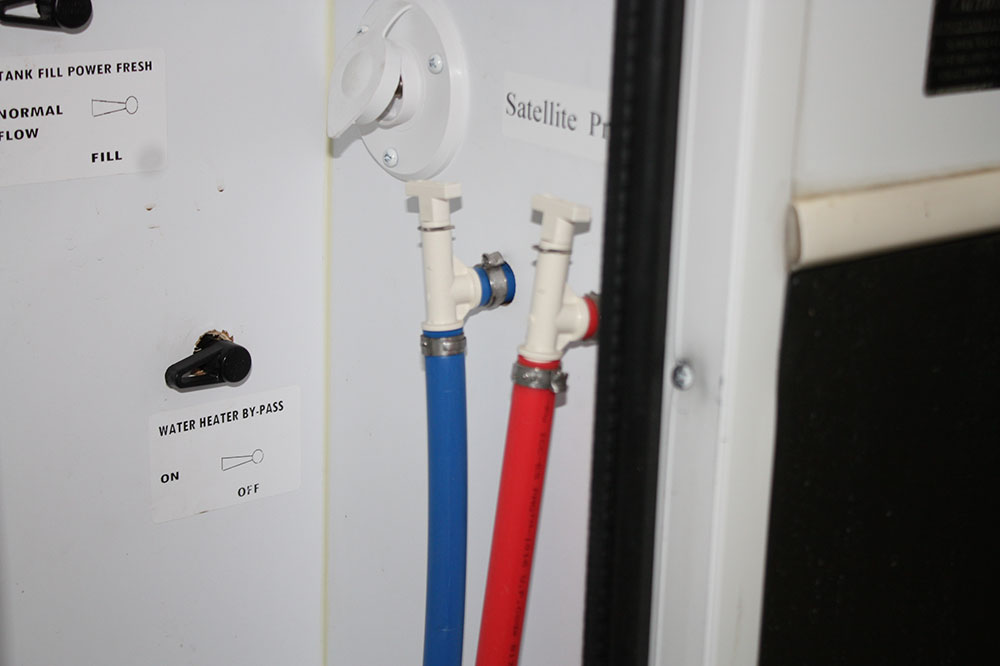
If you used RV antifreeze last fall, you will want to run fresh water through the system, opening each faucet and the toilet until clear water runs through. Keep in mind you’ll need to reinsert the water heater drain plug and turn the water heater bypass switch back if your rig is so equipped.
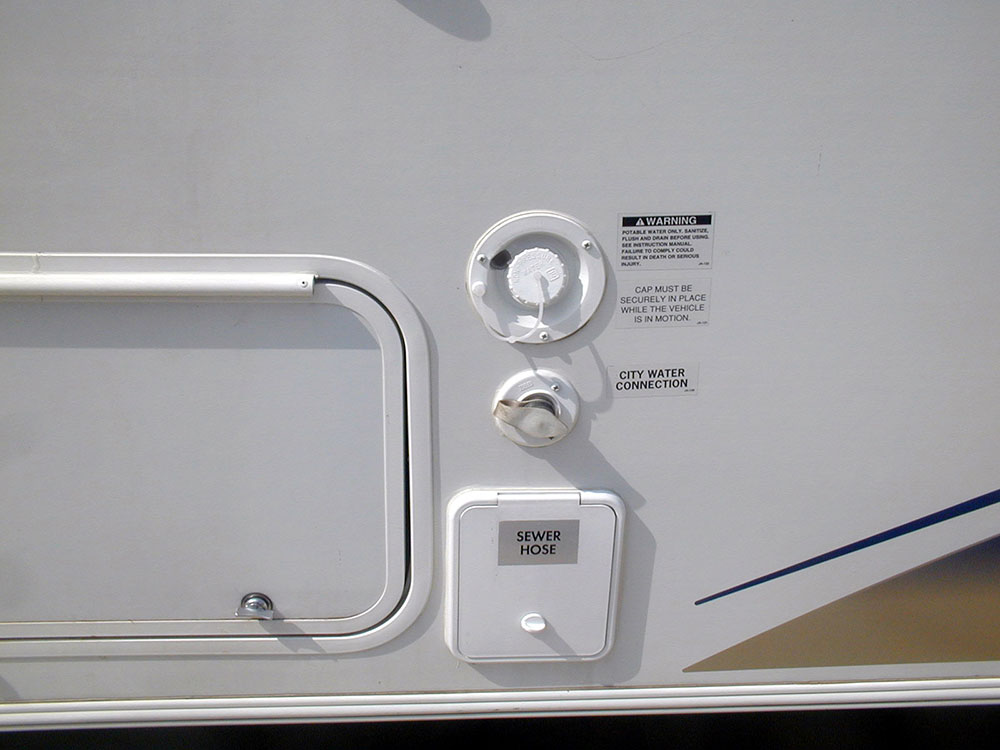
If you used pressurized air to blow out the lines, you will need to run water through the system to purge the air in the lines. Make sure you close any drain valves in the dump station or in-line valves. Start by connecting the city water source first, this will purge the air and the RV antifreeze faster. Once you connect the city source, open each faucet, both hot and cold until a steady stream of clear water runs through. Make sure you open all faucets, shower, toilet, and exterior shower as well.
Related Video: Quick Release Adaptors for Your RV City Water Inlet
During this operation, visually inspect the water lines and connections underneath each location for leaks. Also look underneath the coach to see if any drain valves are still open. Now fill the fresh water tank to half and run the water pump through the same procedure. When you close a faucet after purging that line, check to make sure the water pump shuts off after pressurizing the line. If it doesn’t shut off, or “cycles” on and off, you have a valve open or a leak somewhere.
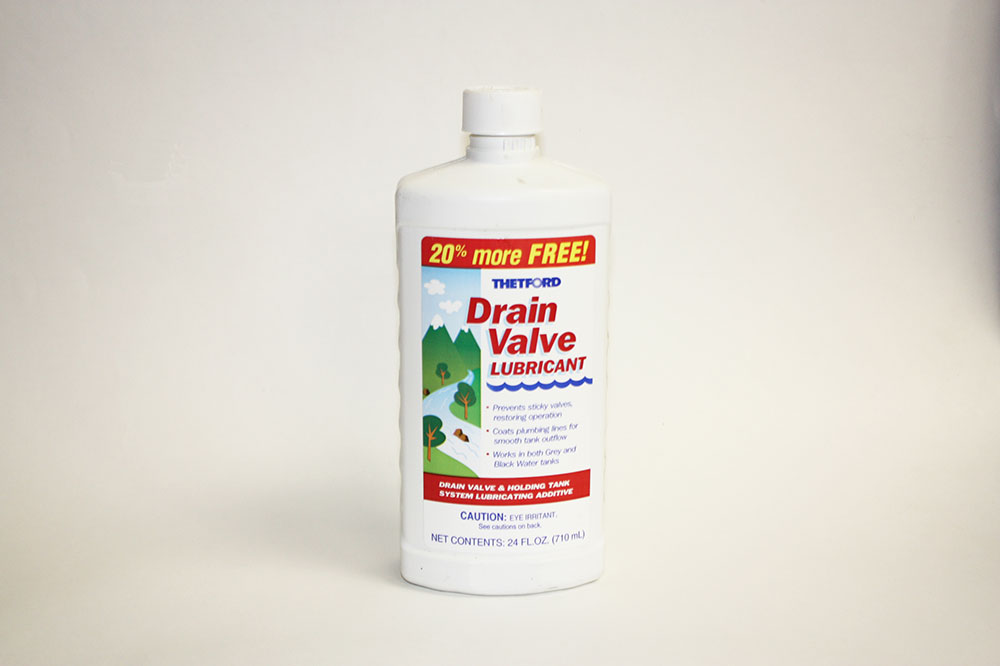
Dump stations are generally low maintenance; however it’s a good idea to check a few areas before getting a surprise on your opening day dump! If you viewed the video on maintenance of your toilet and dump valves, you would have put some valve conditioner in the toilet and dump tanks to lubricate the rubber gasket at the spade valve. If not, you will definitely want to check the seal of those valves with clean water! If the valves are not sealing properly, you will have black and gray water leaking past the valve and when you open the cap to connect the sewage hose… YUCK! Check the valves and get the aftermarket cap that has the small water hose cap. And check your sewer hose – freezing temperatures can snap a hose easily and cause some major cleanup.
Related Video: RV Dump Valve Troubleshooting
You’ll also want to visually inspect the typical operation of your entrance steps, TV antenna, satellite dish, roof vents, and other items. Make sure to change the batteries in the smoke detector and CO detector, and check the function of the LP leak detector too.
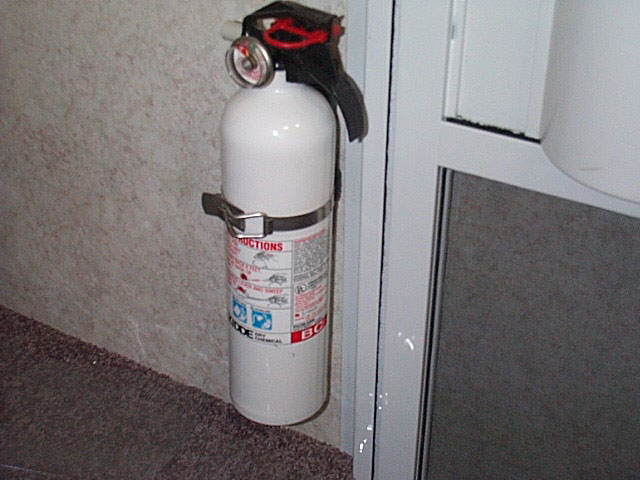
And the last item which I feel is the most important… check your fire extinguisher. Take your fire extinguisher out, turn it upside down, and hit the bottom to dislodge and mix the solution. This should be done yearly otherwise it will settle and “cake” in the bottom and will not be efficient. Just because the gauge is in the green, doesn’t mean it will work properly.
Overall, if you take the time to properly winterize your rig, it makes it easier to bring it back out for summer use. Here’s to the summer season!
Have something to add to the story? Leave a comment or share with us on Facebook!
I have this travel trailer and the window valances are falling off. I did note they use an L bracket with one screw on the valance and one screw in the thin wall. What's the best way to re- attach these?
residential Fridge wont cool or reset. Tried turning it off for 10 minutes and back on. It has power but no cooling Any ideas? Changed the fuse also.
Hi , do you have videos specific to the RV units themselves? I’m new again to the RV camping experience having owned a truck and camper years ago. I’m curious about spring startups for water systems etc .thx I’m enjoying ur videos but am hoping to find something closer to what I have , cheers. Tony
Also open the Emergency window door a few times,they like to stick ones in a while.
starts up runs a short time and shuts off Heat system works and stove
It's also important to inspect the underbelly for defects, exposed water lines, tanks etc. And the most important ,electrical wires connections going to each axels and all wires going to drving lights and power converter. Guy
Where would my LP gas detector be located?
Nice Videos!
Is there a specific set of instructions for de-winterizing the water system (including reefer) on my RV? First time on this site, and I've always paid to have it done, but now am retired with some time on my hands and want to do it myself. Thanks in advance.
08 Georgetown 350ds bunkhouse. Where are the drain points and is there a valve to alter when filling the holding tank? Manual is useless and when I hook up the hose to the tank fill fitting it sounds like the water is going thru the pump to the tank??? Some help, Please....